DivotMaker
New member
I finally did it! Big Daddy joined the family yesterday! Today was filled with doing a bypass and wall-mount Auber probe, and getting a cart ready. I went with the Harbor Freight 24"x36" $54 (on sale) cart, then added a pine 24"x36" wood panel to the top for strength. I used red PlastiDip on the wood - should be sealed and weather-proof! Bolted down the Big Daddy, and am now seasoning/autotuning.
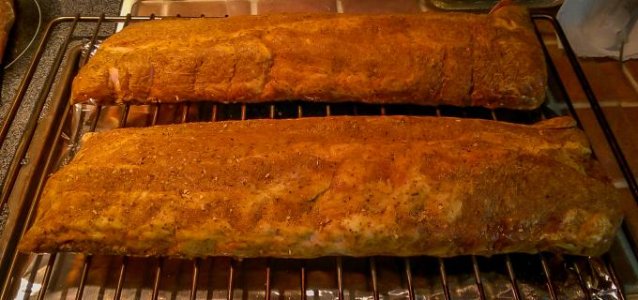
I just got tired of listening to all you "happy" #3 owners, and had to join the fun! I'm really looking forward to big, whole, packer briskets! Funny thing - went to Sam's to get one, and they were completely out! Had 3 flats, and NO packers!! First time I've ever seen that! Oh well, going to smoke 3 racks of baby backs tomorrow (uncut, for the first time)!
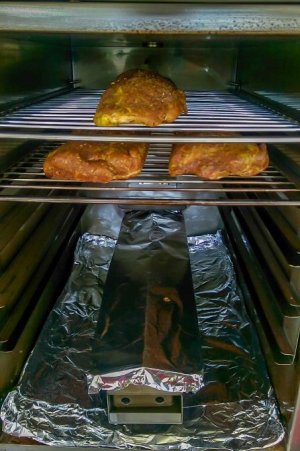
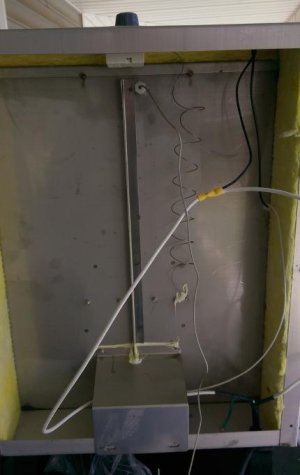
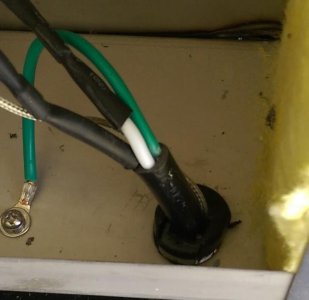
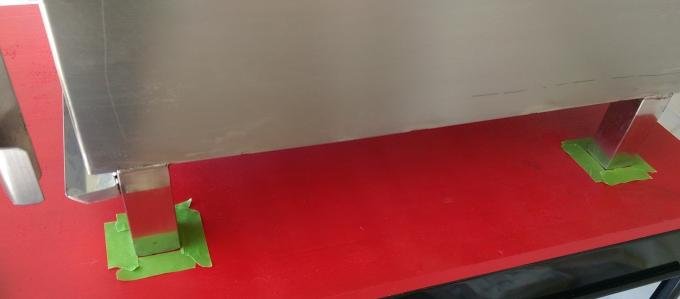
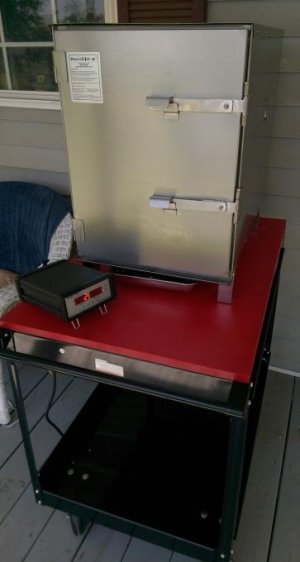
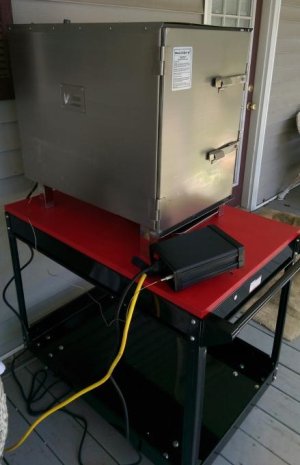
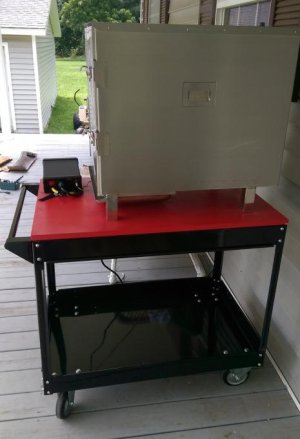
Pic 1 shows the bypass and permanent probe. I just did a permanent bypass with a butt connector this time - no plans to reverse it. Pic 2 is the probe cord routed out the power cord hole. You have to pry the cord clamp out, put in the probe wire, and then reinsert it. Pic 3 shows how I marked the hole locations for drilling (leg bolts). Just draw an "X" between the corners, and you have your exact hole center. (The bolt size, for the model 3, is M12-1.75). Pic 4 & 5 are the completed setup. Very happy with the rolling cart. I definitely recommend a wood top, if you mount a #3. It can hold it, alone, but it sags. The 3'4" pine was just the key!
I just got tired of listening to all you "happy" #3 owners, and had to join the fun! I'm really looking forward to big, whole, packer briskets! Funny thing - went to Sam's to get one, and they were completely out! Had 3 flats, and NO packers!! First time I've ever seen that! Oh well, going to smoke 3 racks of baby backs tomorrow (uncut, for the first time)!
Pic 1 shows the bypass and permanent probe. I just did a permanent bypass with a butt connector this time - no plans to reverse it. Pic 2 is the probe cord routed out the power cord hole. You have to pry the cord clamp out, put in the probe wire, and then reinsert it. Pic 3 shows how I marked the hole locations for drilling (leg bolts). Just draw an "X" between the corners, and you have your exact hole center. (The bolt size, for the model 3, is M12-1.75). Pic 4 & 5 are the completed setup. Very happy with the rolling cart. I definitely recommend a wood top, if you mount a #3. It can hold it, alone, but it sags. The 3'4" pine was just the key!
")
") LOL! I'm sure it's due for some "mods" in its future - you know me! ;D
LOL! I'm sure it's due for some "mods" in its future - you know me! ;D