DivotMaker
New member
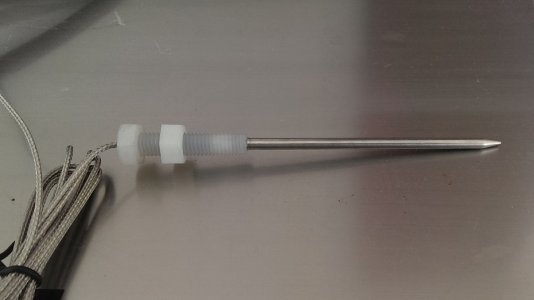
I installed a fixed (permanent) Auber temperature probe in the SI-X2 today. This probe has a nylon base, so it's supposed to insulate the temperature probe from the "heat sink" effect of the stainless steel wall of the smoker.
To install the probe, you must first remove the back cover of the smoker, and take out the 3 layers of insulation. This is an itchy job, so wear disposable nitrile or latex gloves!
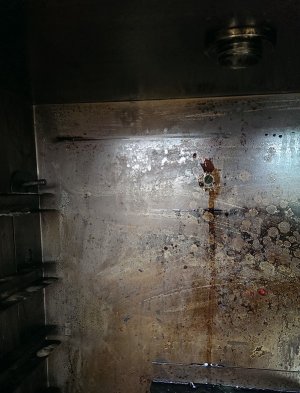
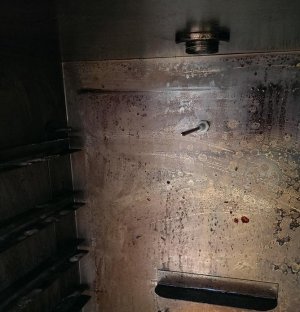
Auber recommends installing the probe as high as possible in the smoker. It should be under the highest shelf. Since we can move our racks into a high or low position, I found the spot below the highest setting. This is about 3" from the top of the smoker (inside).
You must drill a 5/16" hole for the probe. I recommend a sharp drill bit, oil, slow speed, and lots of pressure to get this hole drilled. Stainless steel is tough to drill, but can be done. You have to put your weight in it, so don't be shy.
You'll notice, in the picture of the probe, that the threaded shank is quite long. It's designed for a Bradley, I believe, so it's long enough to go through both walls. Since there's about 3" of space from the back wall of the SI to the cover plate, this won't work. I used a 1" nylon spacer on the probe before inserting in the hole. This worked well, and the result was a clean "probe-only" installation.
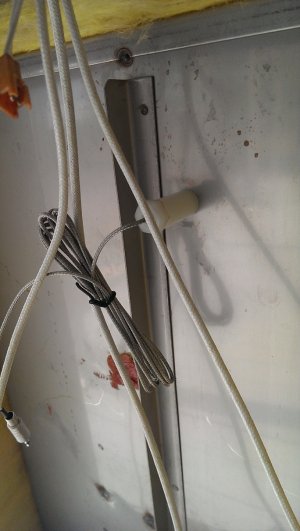
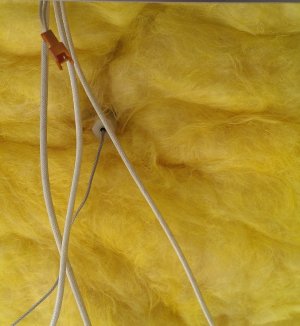
I poked a hole in the first layer of insulation, and fed the wire through it. The second layer has a large notch at the top, so I just went over that one. The third layer needed a hole.
I goofed on this one, and drilled too large of a hole in the back cover! I had bought a 3/8" x 5/8" rubber grommet for the back. The plug on the probe is 3/8" wide. Not thinking that the 5/8" OD on the grommet was the actual outside dimension, I grabbed a 5/8" drill and went to town. Oops. Had to make a quick trip to get a larger grommet. :-[ I ended up with a 3/4" x 7/16" grommet. It will work, but I should have drilled a 1/2" hole.
I'm testing the new sensor now, with a "simulated" 225 cook, and running an autotune on the Auber. I'll let you know how that goes.

