DIY Auber permanent mount tip

paidin

New member
Hi guys,

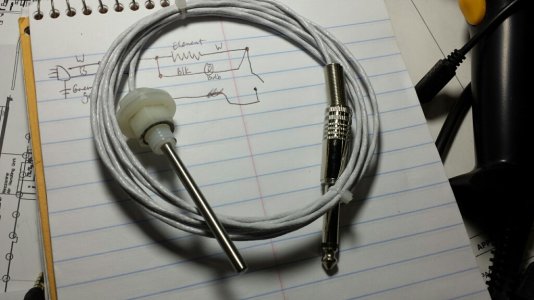
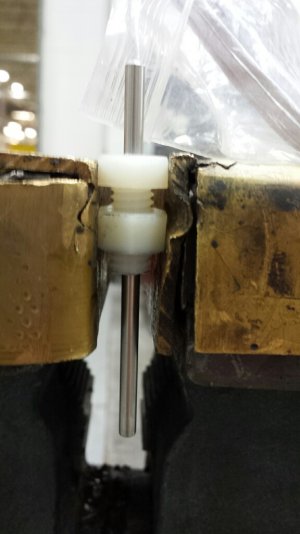
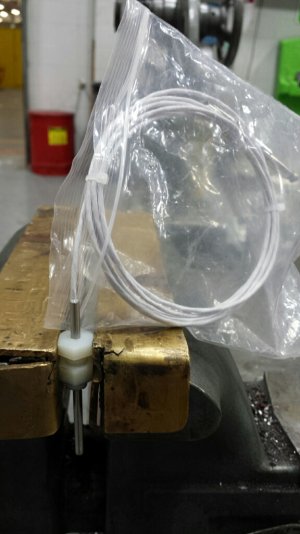
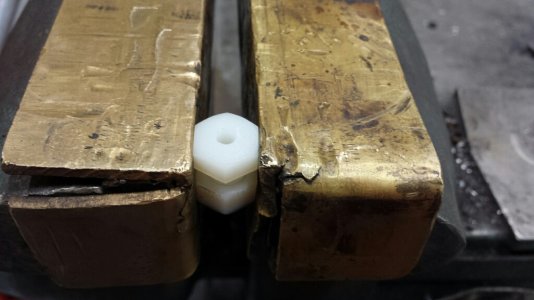
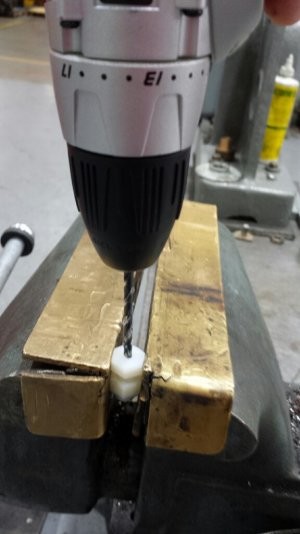
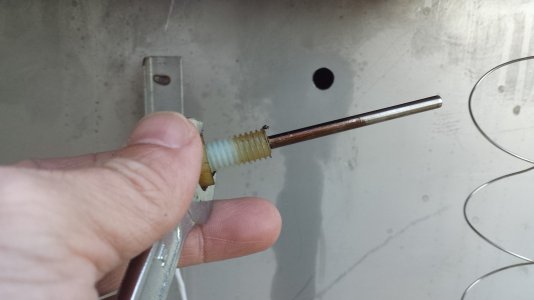
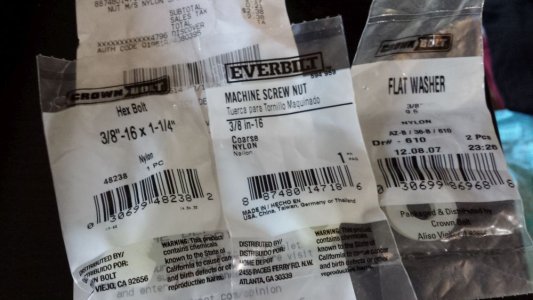
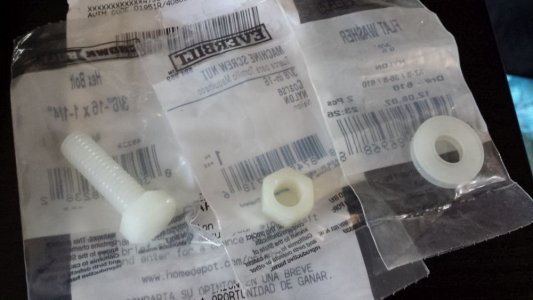
after reading posts on here about how to mount the permanent mount probe, I thought maybe there might be a way to utilize the one that comes with the auber.  That probe is about 0.16" thick.  I bought some nylon bolts and nuts and washers for a little over $2 at home depot.  I plan on drilling 0.16" down the middle of the bolt and stick the probe through it, then mount the bolt/probe assembly like everyone else does using washers and nut to secure.  I have some pics of the stuff and will post pics after I surgically remove the middle of the bolt.
 

Attachments

  • bolt labels.jpg
    bolt labels.jpg
    118.4 KB · Views: 377
  • bolt pictures.jpg
    bolt pictures.jpg
    95.4 KB · Views: 366
Save yourself a lot of hassle, and just get the permanent probe.  It is "tuned" differently than the drop in, already has a sealed nylon base, and works.  Your experiment might work ok, but I don't believe it's worth the effort to try and reproduce a known performer.  It's an entirely different probe.
 
How would the other probe be tuned differently if their function is to measure ambient air temperature?  If this does not work out, I can always buy the other probe.  This is just a good way to use something that comes with the smoker and saves me from spending $40 for another probe.  Surely you can see the benefit in giving it a shot :)  The hole should be the same either way.
 
You're right - give it a shot!  Wasn't trying to come off negative - I've just spent too much time trying to reinvent the wheel myself, and now realize it's usually not worth it, when there's proven technology already.  I'd give Auber a call and ask for specifics about the difference in the probes.
 
Got the bolt drilled out with a 0.157" bit.  The probe is friction fit in the bolt.  This will allow adjustability with how much of the probe you want in the cabinet.
 

Attachments

  • 20150220_093223_resized.jpg
    20150220_093223_resized.jpg
    175 KB · Views: 404
  • 20150220_092506_resized.jpg
    20150220_092506_resized.jpg
    138.4 KB · Views: 401
  • 20150220_092453_resized.jpg
    20150220_092453_resized.jpg
    161.5 KB · Views: 405
  • 20150220_092433_resized.jpg
    20150220_092433_resized.jpg
    161.8 KB · Views: 390
  • 20150220_092420_resized.jpg
    20150220_092420_resized.jpg
    142 KB · Views: 411
How does one verify the melt point for those nylon fasteners?  One of the one way push washers would be nice to prevent probe from backing out. 
 
I like the warning on the bag, what does California know that the rest of the world does not?

Sorry, Friday humor.  Happy smoking.


SuperDave said:
How does one verify the melt point for those nylon fasteners?  One of the one way push washers would be nice to prevent probe from backing out.

I guess I can stick one of the nylon washers in the oven next time I bake something to see if it melts at 350 or 400.  I thought the ones from auber comes with Nylon parts?  I could also google the melting point of nylon but I am too lazy right now
 
jcboxlot said:
I like the warning on the bag, what does California know that the rest of the world does not?

Sorry, Friday humor.  Happy smoking.

funny observation.  I had to keep deleting all my replies to your statement because no matter what I typed up, it sounded too political and this is a smoking site, not a soap box :)
 
That's a nice-looking job, Paidin!  I would insert it as far as possible, then add a little hi-temp RTV sealant around the ends of the nylon bolt (both ends).  That will keep the sensor in place, and seal out moisture completely.  Make sure you do an autotune!
 
installed the DIY probe today after verifying it was accurate.  Took me 2 hours to drill through the back wall, mainly because HF bits suck.  had to pull out the drill doctor and finally said screw it and set the drill to fast mode.  got it done 2 minutes after that.  Always predrill a small hole first.

One advantage to making one yourself is that there is a preexisting hole on the bottom of the back that you can stick the probe through before assembling the nylon bolt.  One hole was enough for me, I am not going to drill anymore holes!

Also, I installed a dryer heat fuse that melts at 333 degrees.  If my smoker gets too hot, that should prevent it from burning down.  Thanks to one of the members here for suggesting that.  The other advantage to that is that I did not have to make any wires up for shorting out the connectors in order to bypass the  controller.

I am autotuning it right now.
 

Attachments

  • 2015-03-16 18.02.32.jpg
    2015-03-16 18.02.32.jpg
    950.9 KB · Views: 391
  • 2015-03-16 17.57.14.jpg
    2015-03-16 17.57.14.jpg
    534.6 KB · Views: 346
  • 2015-03-16 17.57.11.jpg
    2015-03-16 17.57.11.jpg
    622.1 KB · Views: 382
  • 2015-03-16 17.56.34.jpg
    2015-03-16 17.56.34.jpg
    545 KB · Views: 349
  • 2015-03-16 17.47.09.jpg
    2015-03-16 17.47.09.jpg
    749.7 KB · Views: 359
  • 2015-03-16 17.44.55.jpg
    2015-03-16 17.44.55.jpg
    558.9 KB · Views: 380
  • 2015-03-16 16.20.31.jpg
    2015-03-16 16.20.31.jpg
    618.3 KB · Views: 418
  • 2015-03-16 18.02.37.jpg
    2015-03-16 18.02.37.jpg
    821.6 KB · Views: 375
How's that fuse work? If it's in the back behind the insulation rather than in the box I don't see how it can perform its job and melt?
 
I want it to melt at 500 degrees. I do not want it to melt at 325 degrees when I'm cooking chicken with crispy skin :)

The smoker is made of stainless steel. 500 degrees is not going to hurt it.  They say it's good up to 350 degrees only for liability sake
 
Back
Top