DivotMaker
New member
Great News! Steve has 7 kits available to ship! There are only 7 now, because that's all the face plates he has on hand now (but more are on the way). He is offering these exclusively to forum members, and the prices below! Once they hit the website, the price may increase.
I've attached the installation instructions, so you can see what you're getting into. The project is not difficult, if you have some moderate mechanical skills, but it's not a couple of screws, then plug-and-play.
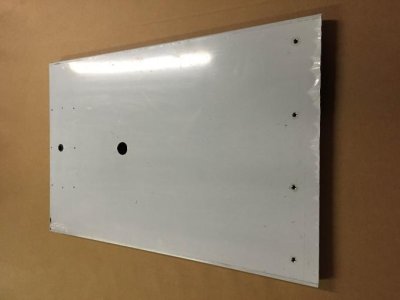
Note also, that some of the older #2's have the top vent hole (or blow hole, as I call it) in a different location. To make sure the new flat top will fit your smoker, check these measurements:
#2 From the front of the top, measure to the front of the hole opening (next to the pipe that is threaded in the hole). The new top is 10 7/8" from the front.
#3 This hole is 16 1/8" from the front.
I installed the kit on the original digital prototype #2, which had the old top. That's why you see the red top in the instructions.
Let me know if you have any questions!
Call, email or text Steve to order yours today!
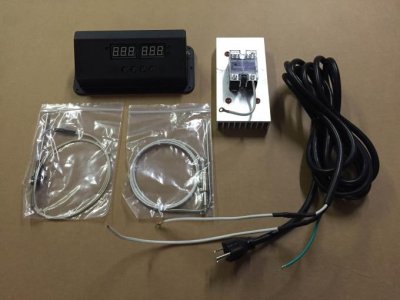
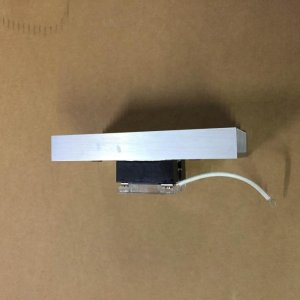
If you notice in the pictures, this kit includes the controller, flat top, permanent probe, food probe, and remote SSR/heat sink. There has to be a rectangular hole cut in the bottom rear of the smoker, so this is not a "drop-in" kit! Please be aware of that before ordering! Shouldn't be a big deal for many, but I wouldn't recommend going this route unless you are handy with tools, or have a buddy who is.
2D Kit: $265 + shipping
3D Kit: $275 + shipping
These will sell on a "first come, first serve" basis! Call Steve and order yours today.
**These are NOT being offered on the website! This is currently ONLY for his loyal owners, through the forum only!!" How cool is that "insider" deal??
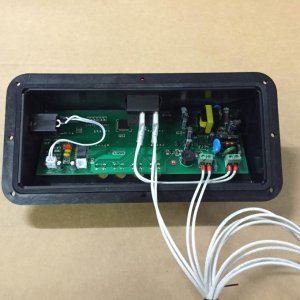
(**Pic 3 shows a controller without the faceplate. These kits have it on**)
I've attached the installation instructions, so you can see what you're getting into. The project is not difficult, if you have some moderate mechanical skills, but it's not a couple of screws, then plug-and-play.
Note also, that some of the older #2's have the top vent hole (or blow hole, as I call it) in a different location. To make sure the new flat top will fit your smoker, check these measurements:
#2 From the front of the top, measure to the front of the hole opening (next to the pipe that is threaded in the hole). The new top is 10 7/8" from the front.
#3 This hole is 16 1/8" from the front.
I installed the kit on the original digital prototype #2, which had the old top. That's why you see the red top in the instructions.
Let me know if you have any questions!
Call, email or text Steve to order yours today!
If you notice in the pictures, this kit includes the controller, flat top, permanent probe, food probe, and remote SSR/heat sink. There has to be a rectangular hole cut in the bottom rear of the smoker, so this is not a "drop-in" kit! Please be aware of that before ordering! Shouldn't be a big deal for many, but I wouldn't recommend going this route unless you are handy with tools, or have a buddy who is.
2D Kit: $265 + shipping
3D Kit: $275 + shipping
These will sell on a "first come, first serve" basis! Call Steve and order yours today.
**These are NOT being offered on the website! This is currently ONLY for his loyal owners, through the forum only!!" How cool is that "insider" deal??

(**Pic 3 shows a controller without the faceplate. These kits have it on**)


 .
.