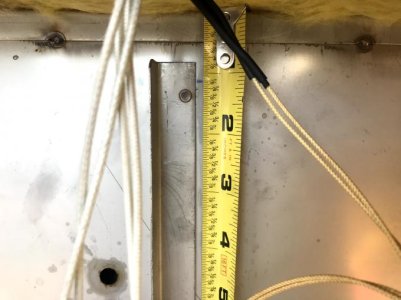
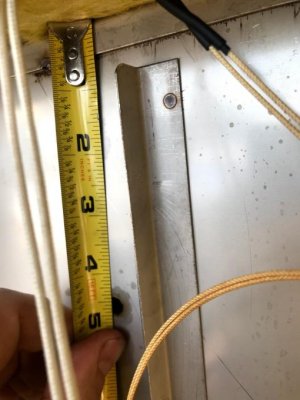
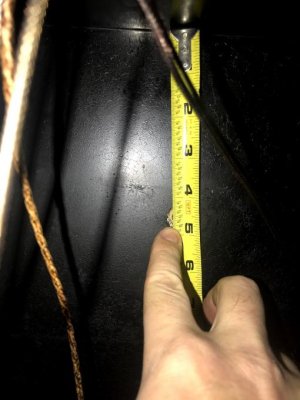
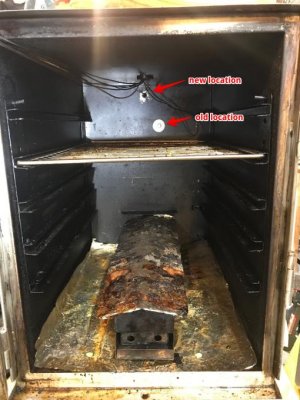
Do you have a Gen1 #3D where the internal box probe is located (incorrectly) 4.5" from the top of the box? If so, you've likely run into times where the location of the probe is problematic when you're trying to smoke large or multiple racks of meat. The correct location for this probe is 1" from the top and here's my quick and easy DIY to move yours too.
Tools needed:
gloves (you'll be removing 3 layers of insulation)
phillips screwdriver
tape measure
drill
good quality 5/16" carbide tip drill bit
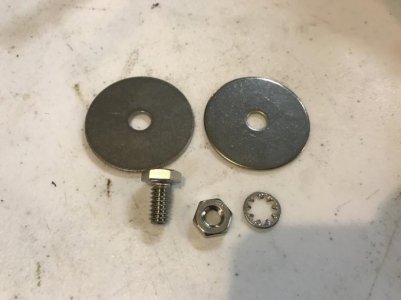
You'll also need a way to plug the old temp probe hole. I bought a short 5/16" bolt, nut, 2 large washers, and a spider lock washer (pics towards the end).
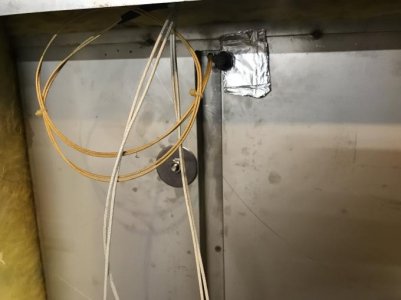
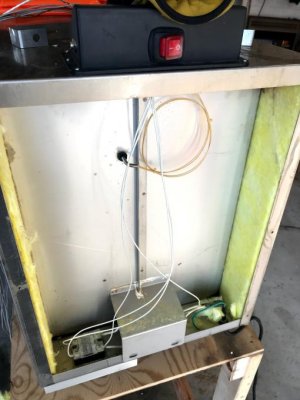
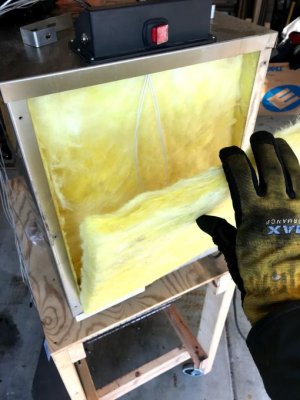
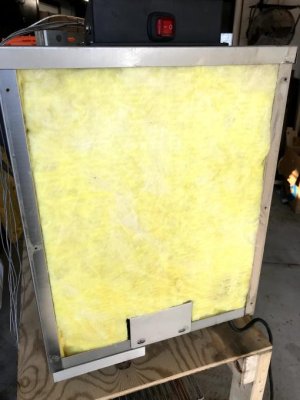
Remove the phillips head screws from the rear panel so it can be removed.
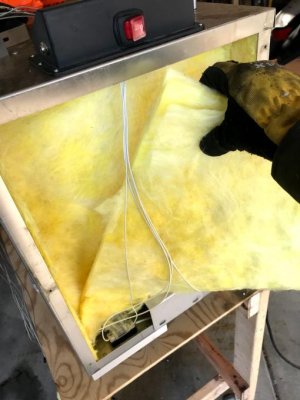
Using gloves, carefully remove the 3 layers of insulation. Insulation is not fun if the fibers get into your skin. Note that the 2nd and 3rd layers are behind the white wires.
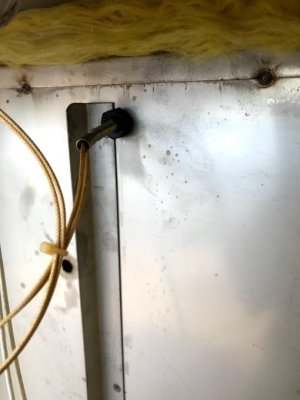
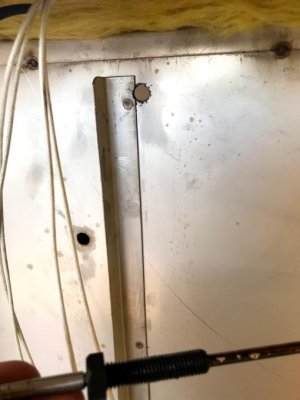
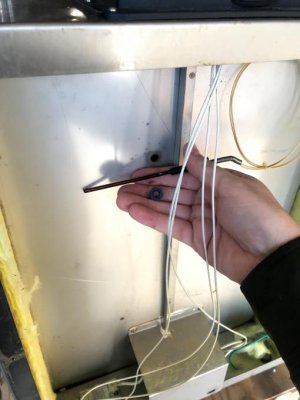
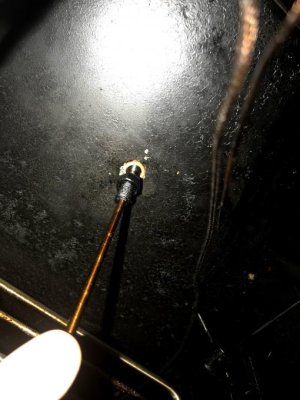
With the insulation removed, you can now remove the temp probe. The probe is held in place with a nylon nut that needs removed from the inside of the smoker. I'd suggest cleaning some of the crud off the inside probe threads to make removing the nut much easier.
Tools needed:
gloves (you'll be removing 3 layers of insulation)
phillips screwdriver
tape measure
drill
good quality 5/16" carbide tip drill bit
You'll also need a way to plug the old temp probe hole. I bought a short 5/16" bolt, nut, 2 large washers, and a spider lock washer (pics towards the end).
Remove the phillips head screws from the rear panel so it can be removed.
Using gloves, carefully remove the 3 layers of insulation. Insulation is not fun if the fibers get into your skin. Note that the 2nd and 3rd layers are behind the white wires.
With the insulation removed, you can now remove the temp probe. The probe is held in place with a nylon nut that needs removed from the inside of the smoker. I'd suggest cleaning some of the crud off the inside probe threads to make removing the nut much easier.
")